Just like a well-tended home, your makeup collection deserves a spring cleaning every year. If you’re the type of enthusiast who buys a bit of this and that from every launch, you know that makeup piles up fast, and by the end of the year, your stash would have grown quite considerably.
It’s fun to collect a lot of products and to have as many options as you want, but too much of anything is bad for your mental health — not to mention your living space, too. There are lots of unnecessary things that will take up space both in your home and mind. In the words of Marie Kondo, that won’t spark joy.
Once you’ve set aside time to declutter your collection, follow these steps to reorganize your collection.
Classify Products into Groups
Unless you’re blessed with a beauty room with full-extension drawers and tiny acrylic organizers, chances are that your makeup products are scattered all over your house. Some may be in your makeup bag, while some are in your other makeup bag, and the rest are in some drawer. There’s a mascara in that bag, a lipstick on that shelf, and so on.
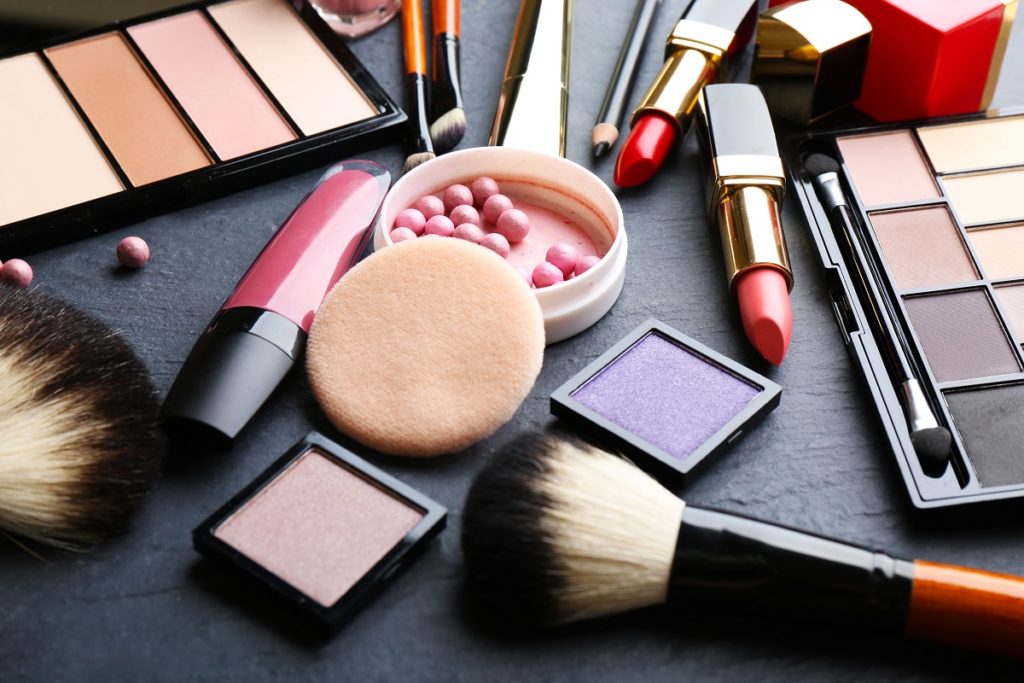
The first step in decluttering your makeup arsenal is to convene them and check how much stuff you have. Put everything — and we mean everything — on the floor. Unearth them from the recesses of your cabinet and long-forgotten pouches. Then, sort them into piles. Place lipsticks with lipsticks, mascaras with mascaras, and so on.
If you have a massive collection (say, dozens of lipsticks), take it one step further and create sub-categories. For example, sort lipsticks into reds, pinks, nudes, and other bold colors. Sort mascaras into waterproof, volumizing, curling, lengthening, etc.
Check for Expired Products
Beauty products are formulated to last long, but they do have an expiration date. Once they’ve reached the end of their lives, it’s time to toss them out. Here’s a general guide on the expiration date of cosmetic items:
- Mascara and Eyeliner — 3 months
- Foundation — 1 year
- Lipstick and Lipgloss — 1 year
- Blush — 1 year
- Liquid Concealer — 1 year
- Powder or Stick Concealer — 2 years
- Face Powder — 2 years

Some products, however, last longer than these dates. To be sure, check the expiration date printed on the bottom of the bottle or the crimp of a tube. Look for an image of an open little jar with a number on it. The number would tell you how many months it will remain safe and usable after it has been opened.
If you detect a weird smell, or if it no longer looks good (melted lipstick, weird surface gunk on eyeshadows, etc.), it’s time to toss it out.
Categorize Your Products
Then comes the fun (and challenging) part. Create categories for your products: Keep, for items you will always be using; Donate, for unopened products that you wouldn’t use; Throw Away, for expired items or items that are not that good. You can even create a Maybe category for the products you’re not sure you’d keep or dispose of. You can revisit them once you’ve gone through everything.
The next steps would require a bit of self-control and introspection, so here are a few guidelines.
- If they don’t look good on you, don’t keep it. The purpose of makeup is to enhance your features, so if it doesn’t meet that standard, it’s time to say goodbye to the product. All the lip glosses that make your lip fillers look full and plump should stay. All neon-colored eyeshadow pans that don’t suit your skin tone must go.
- If unsure, follow the 20/20 rule: can you replace it with a similar item in less than 20 minutes for less than $20? If yes, then throw it out.
- Don’t think that you’ll use it someday. It’s a trap, and it never turns out well. Let it go.
If you do this correctly, you’ll be left with a collection that has everything you need: your primary products, your everyday essentials, plus some extra fun ones for special events. Isn’t it nice to have a collection where you like every single item?


